Do you know one of the most common questions I get asked by people in relation to starting a sketchbook?
(..And I’ve come to realise that it’s fundamental to starting a sketchbook habit.)
“How do I format a sketchbook page?”
Great question.
Firstly, what does formatting mean in the context of a sketchbook? Put simply, formatting is how you choose to arrange and organise, colour or even decide on what to draw. You may even develop and evolve, through trial and error, an established format that you love to use.
This got me thinking about why people are interested in this aspect of starting a sketchbook? If you are new to sketching, a blank page is a daunting prospect. Creating a framework for your sketches can give you a place to start your sketch but also motivate you to finish one! I’ve thought a great deal about how I’ve gone about formatting my pages, largely through trial and error.
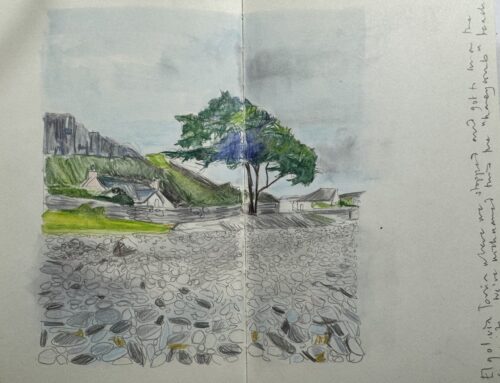
The first thing I want to share with you is a gallery of images and some of my own sketchbooks for you to look through;
Believe it or not, formatting is very important when it comes to developing your style. There are so many different formats that artists use so pulling up a few of your favourites and taking a look at what they do is a great place to start.
Not only do I have a range of sketchbooks that I use for different purposes, daily sketching and journalling, travel, people (as above in my concertina sketchbook), illustration etc, I tend to use a variety of different sketchbook formats based on a range of criteria. These include, how much time I can dedicate in my day to sketching, whether or not I want to practise colour or keep it a pencil or pen sketch, am I at home or out and about, am I drawing people or objects, or how much detail I want to put into one sketch and so on… This is perhaps easier to assess if you are an established artist.
But what about if you are just getting started? You have to get started somewhere!
Here is a 3 step plan to get you started;
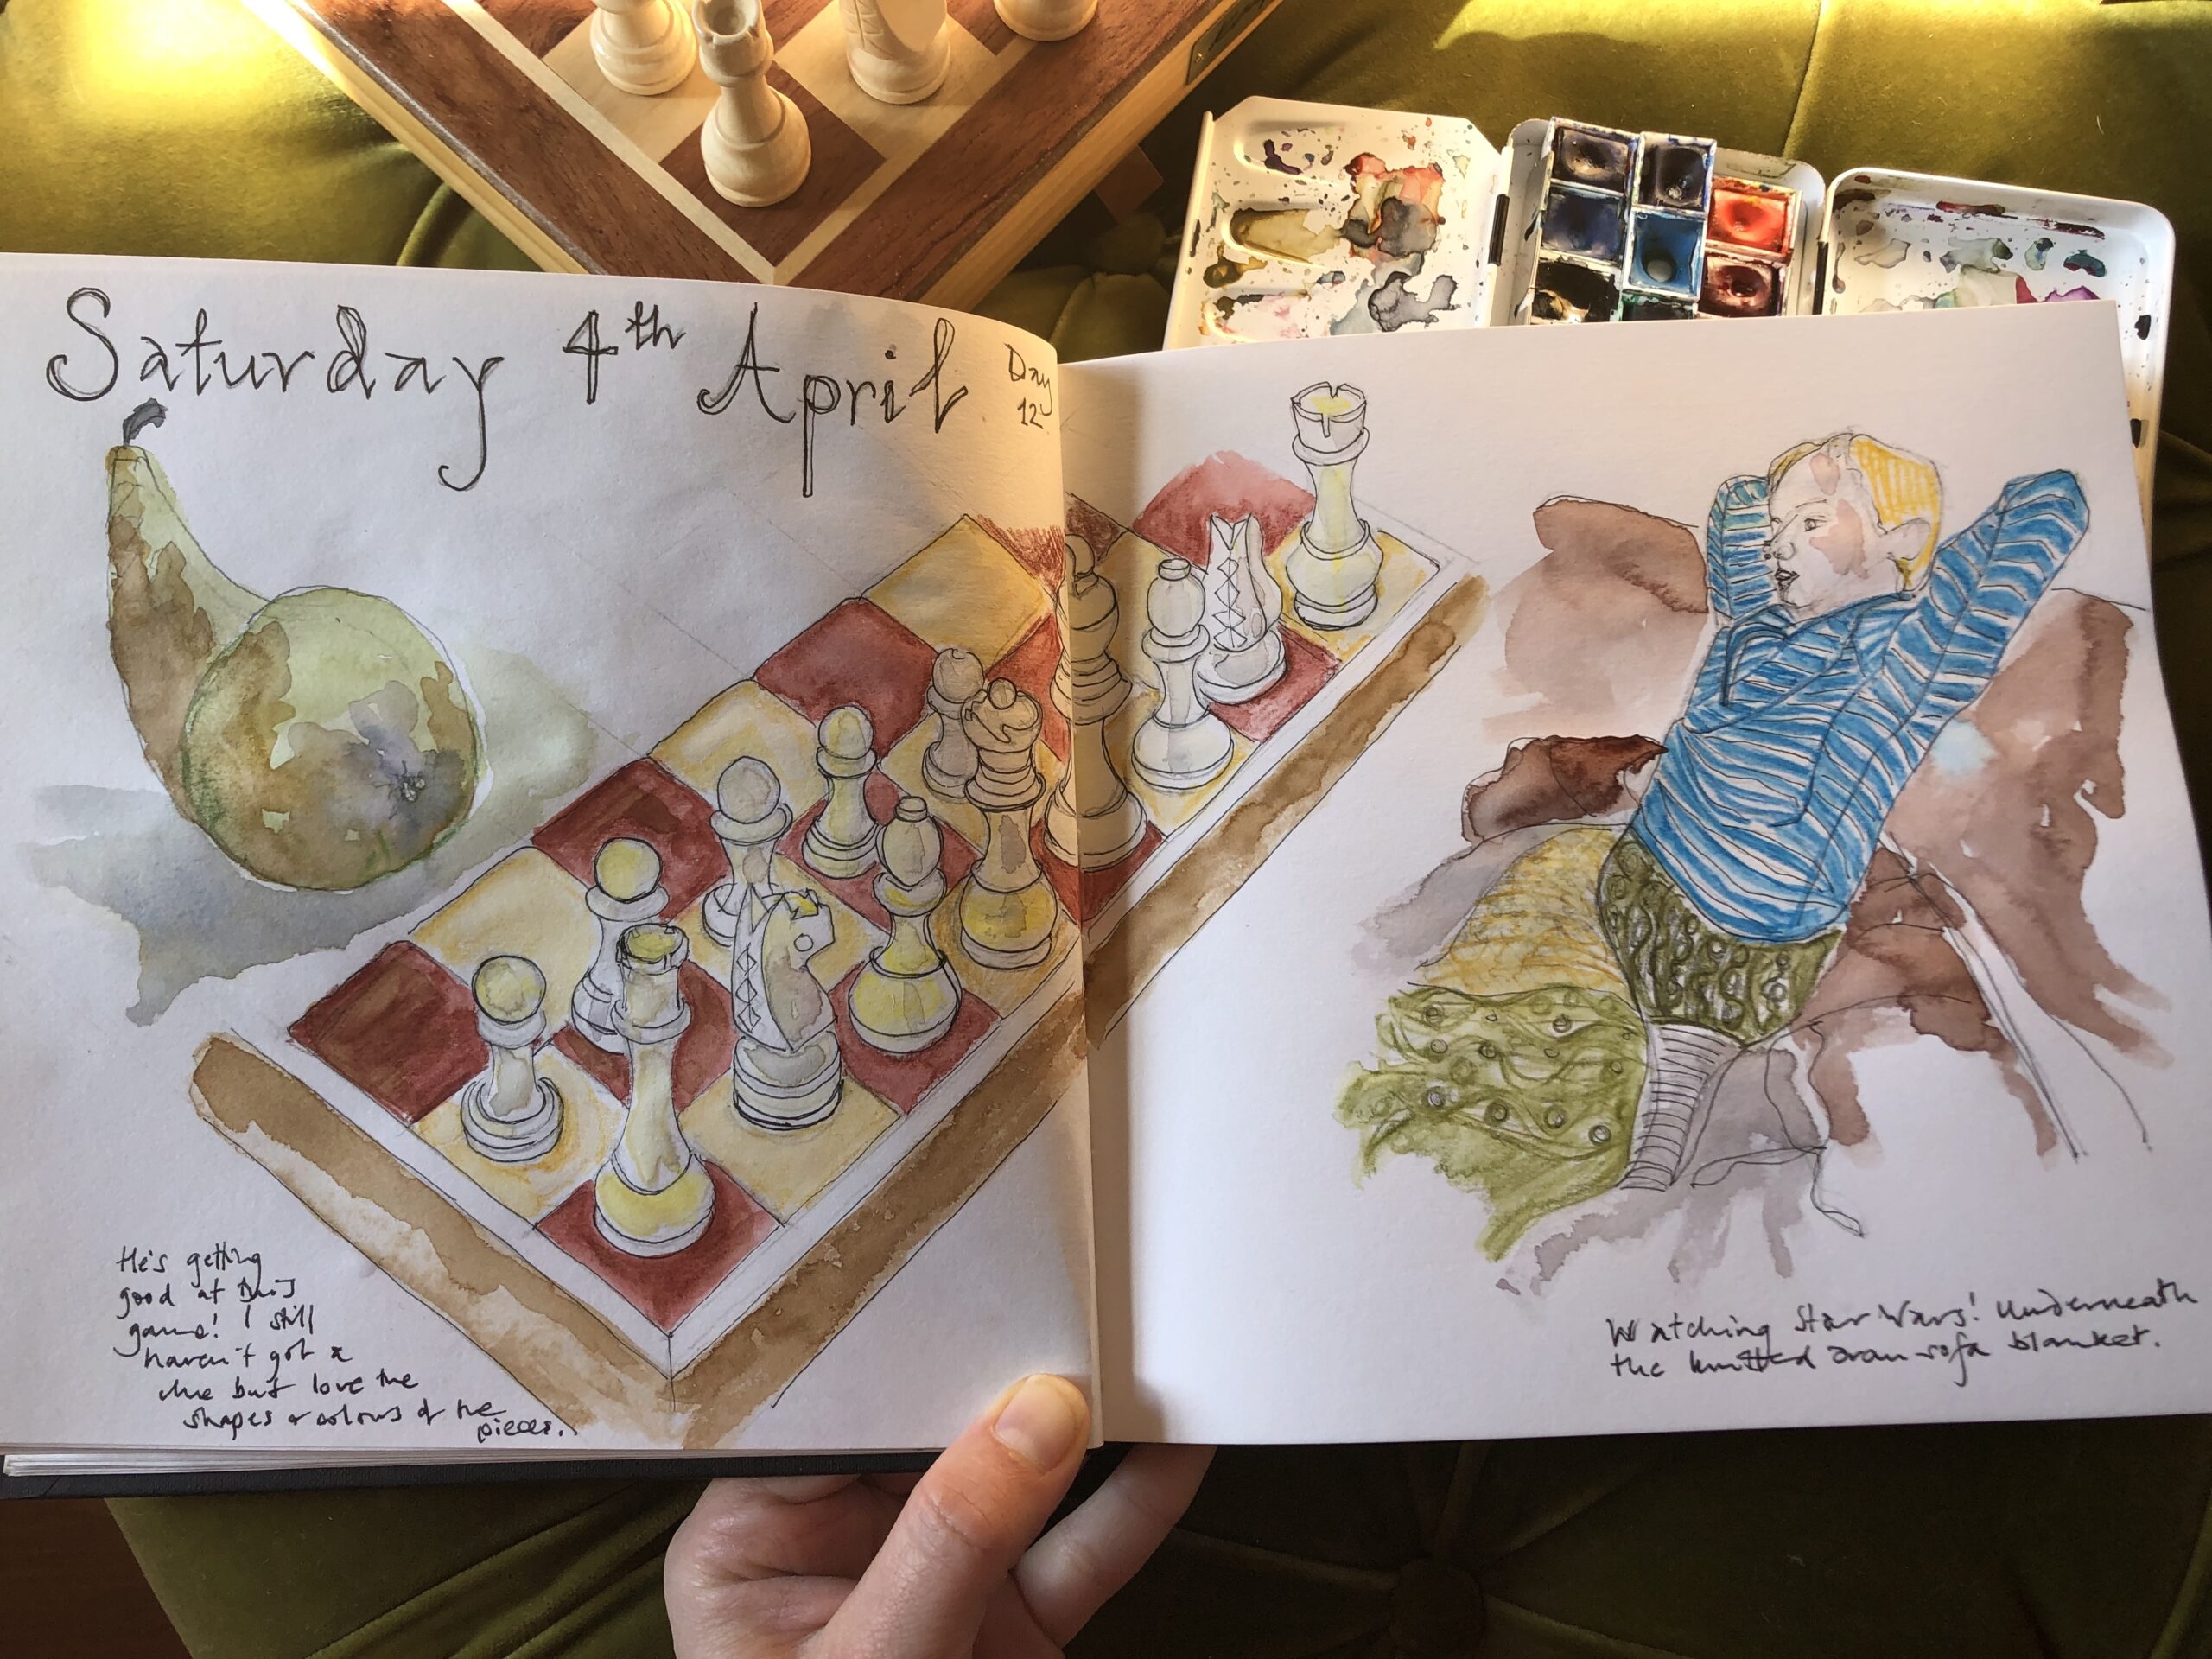
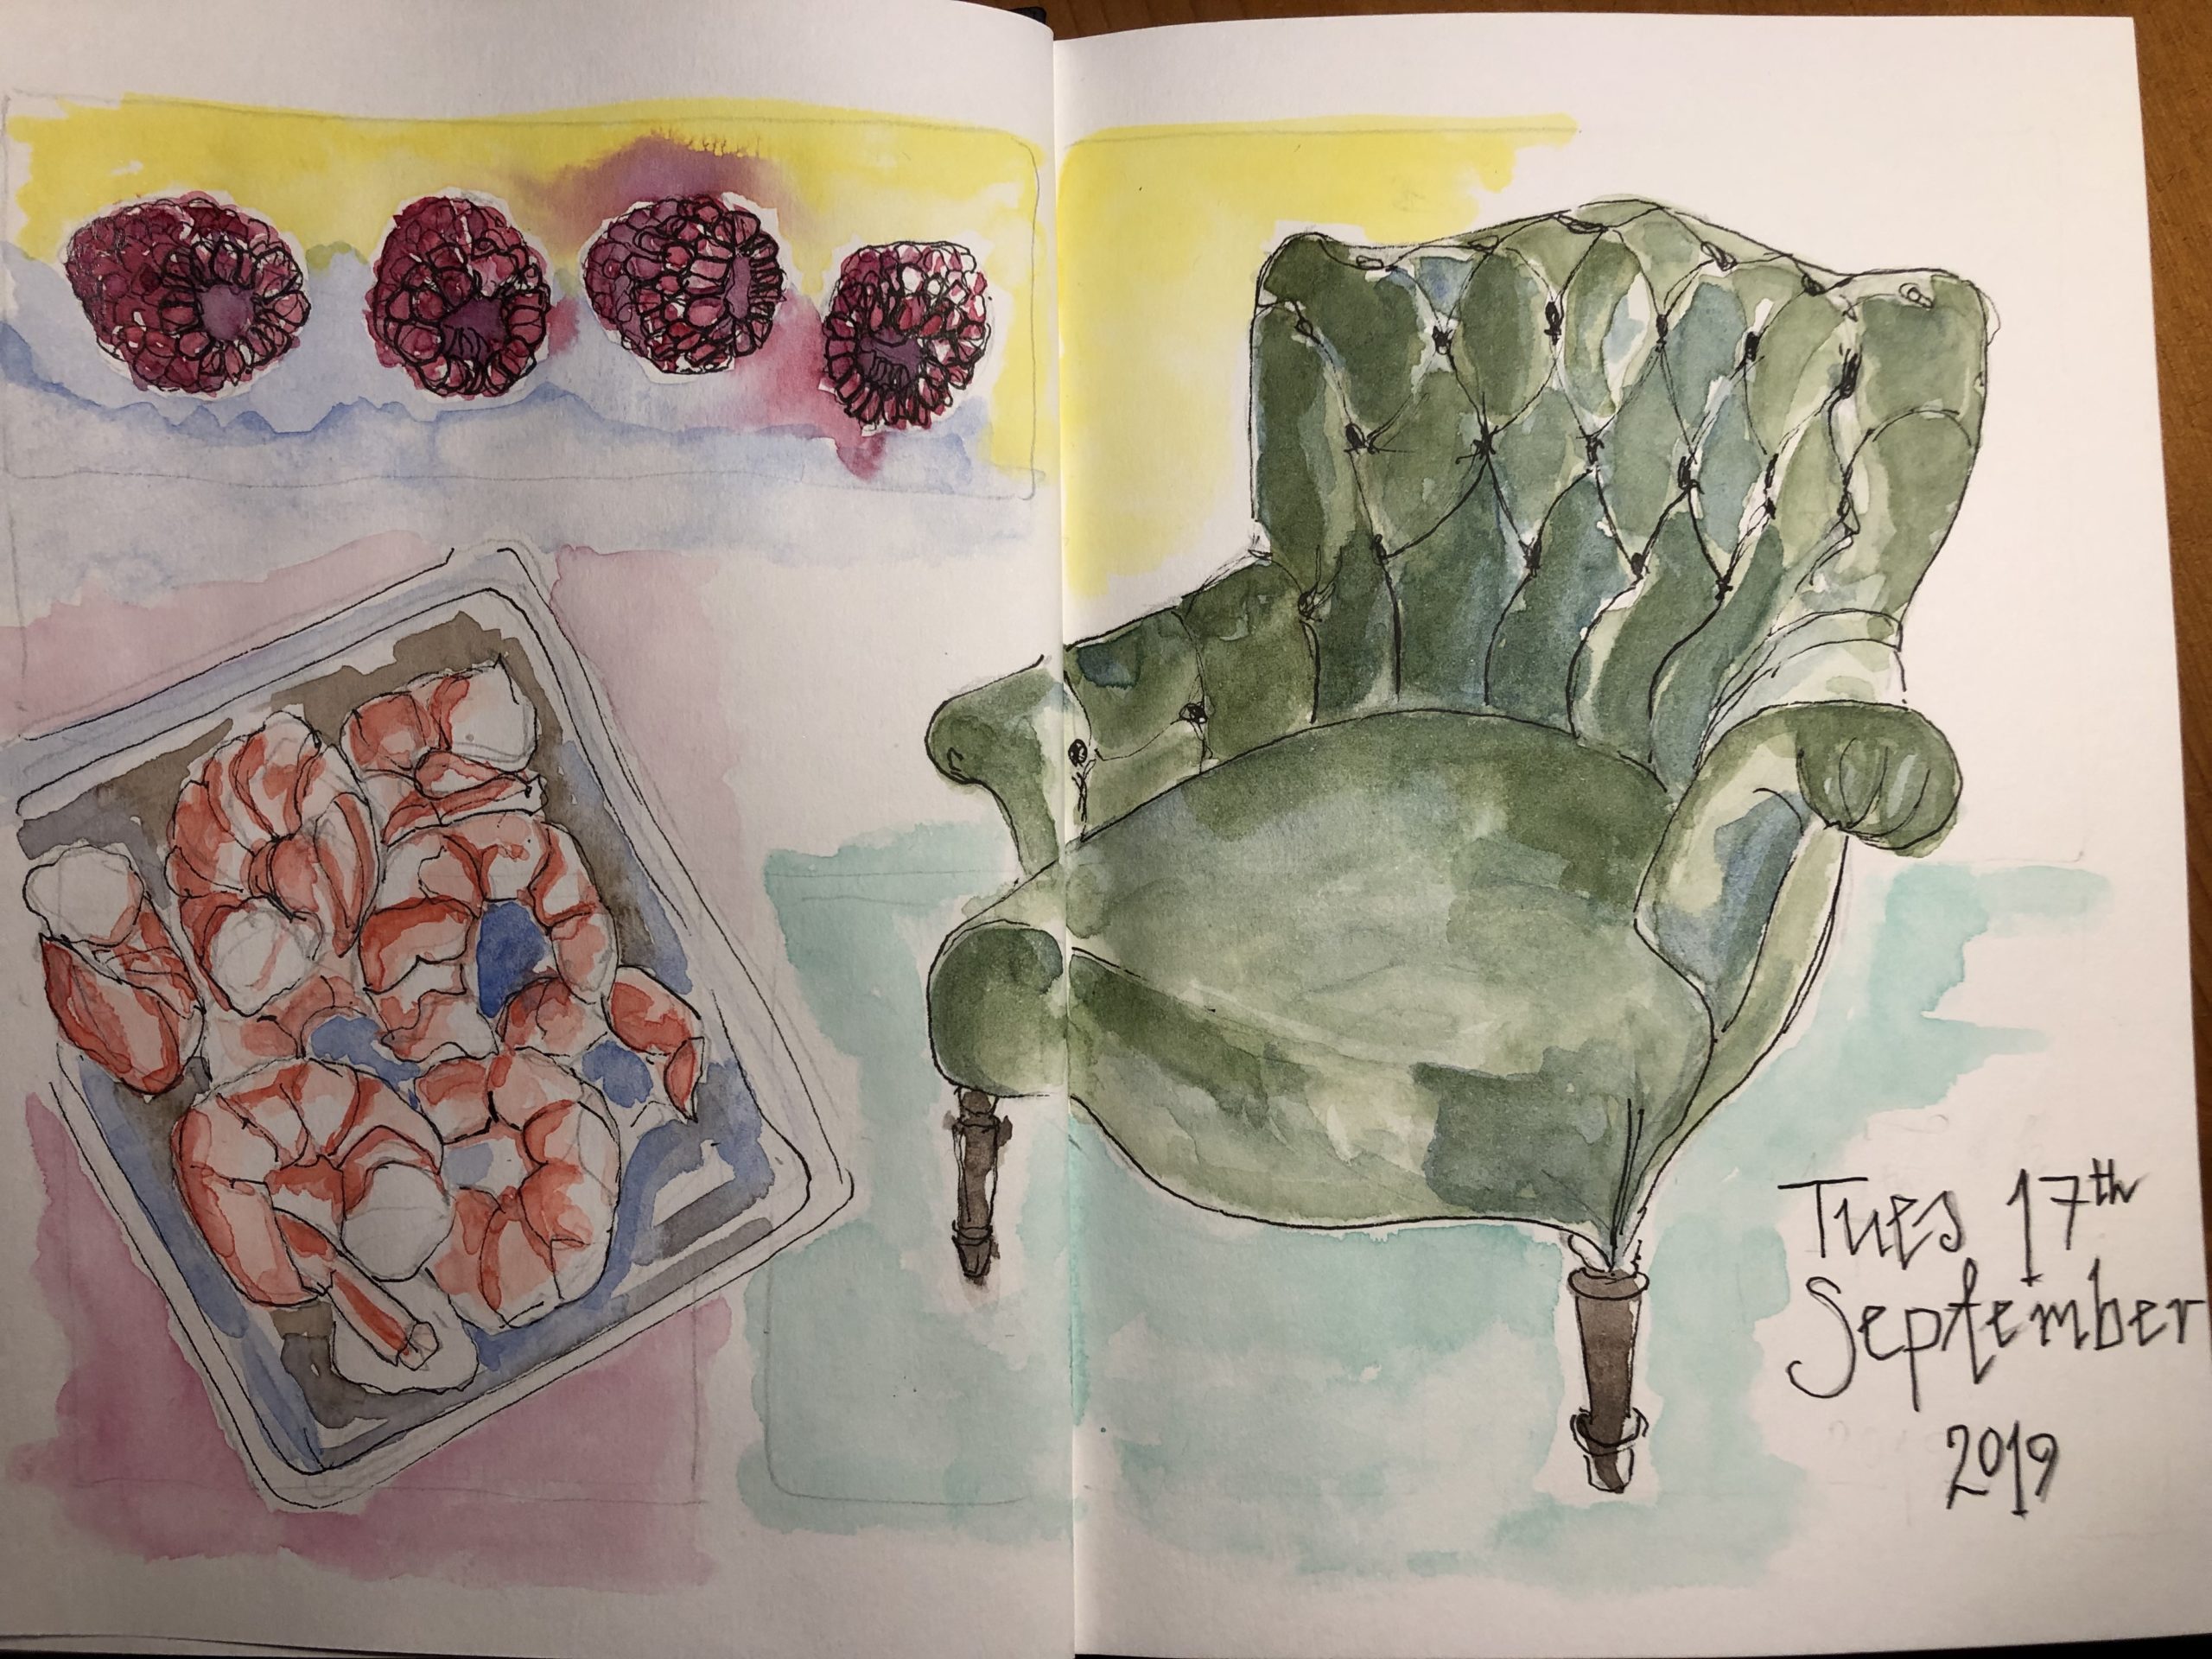
1.It helps to know what you want to start drawing. And quite simply there is no Einstein solution to this. Start with what you enjoy! You can see from my journals that I largely draw my day. The objects are random on a page. Look! A green comfy hotel lobby chair next to jumbo king prawns and raspberries. Or half a chess board, a pear and my little boy watching Star Wars on the sofa. What kind of logic is that? That was my day. Visiting a hotel and having prawns and raspberries for lunch or lazing around in lockdown! The sketch works because it is laid out in an interesting and memorable way. I tend to stick to the things that inspire me the most in my day. Things that look interesting, that make me smile, that have an amazing colour…you get the gist! Go and make a list of the things in your day that inspire you.
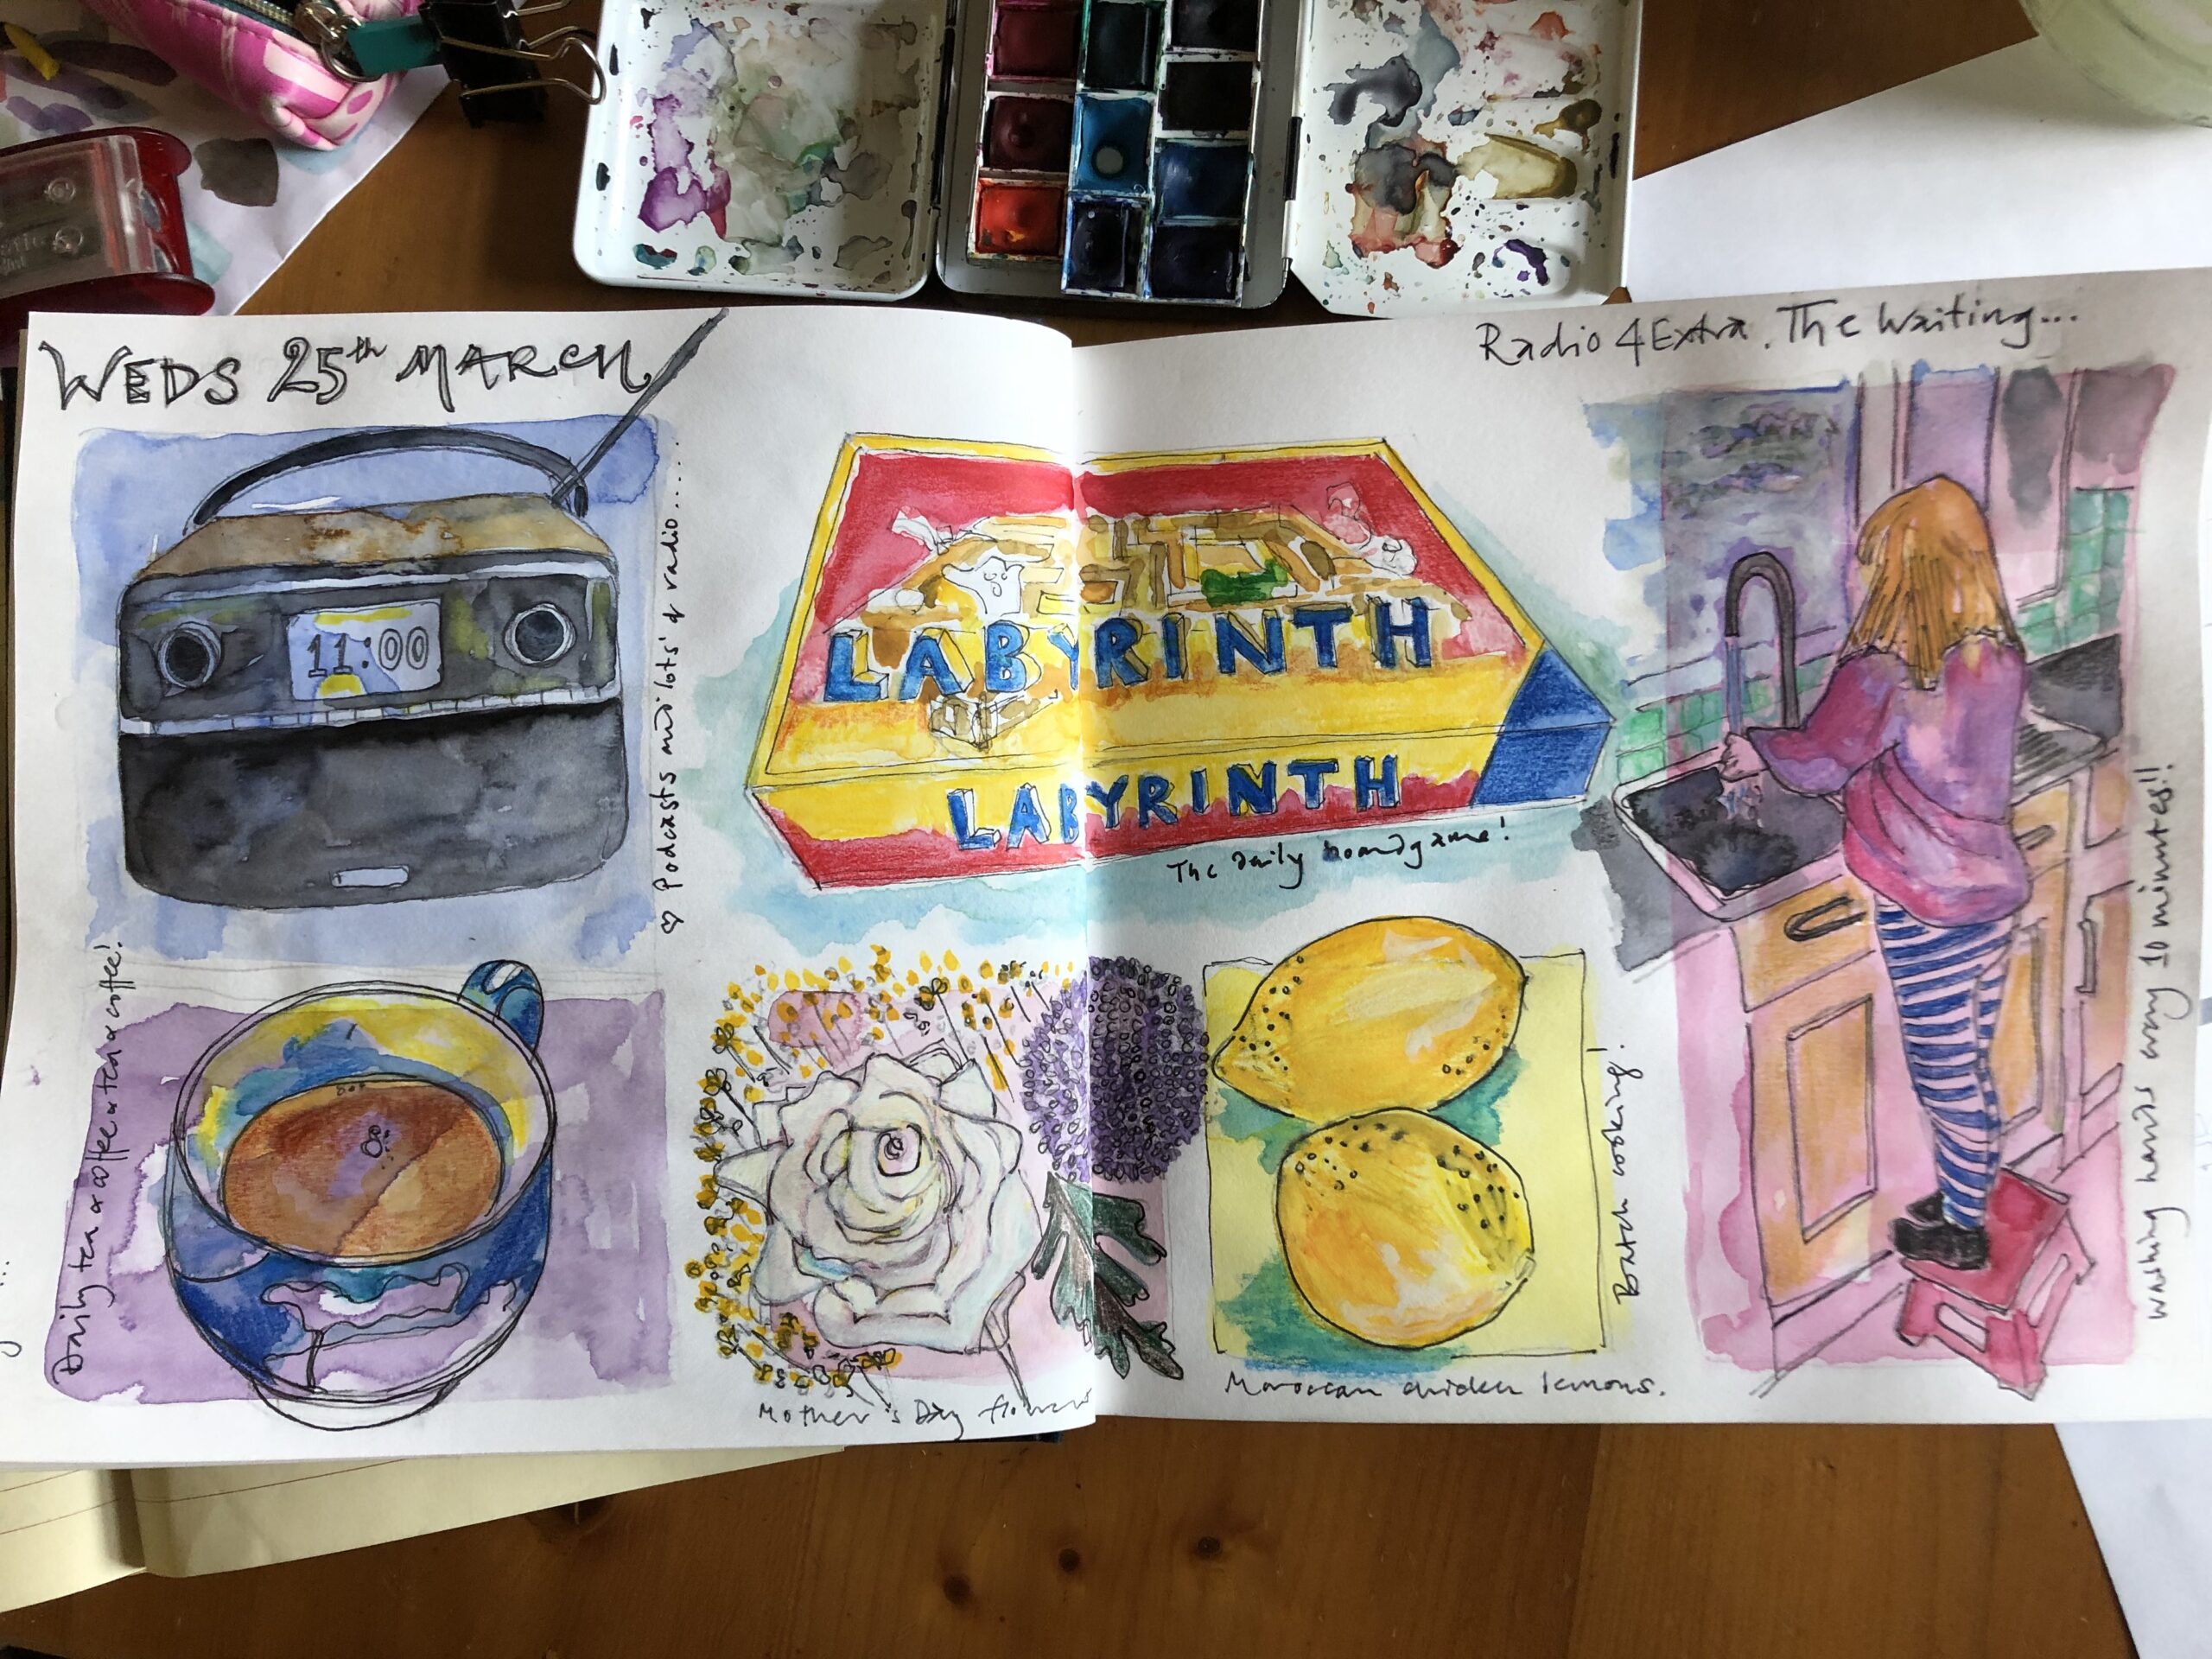
2. Next, if you are getting started or are pressed for time I would recommend you get started using the formatting technique I use. You want to keep things simple. Break your page down into a variety of boxes (use pencil), these are by no means prescriptive. If you see the main picture accompanying this post you will see I have sketched out 4 boxes on my page. All of them are different shapes and sizes with the intention of filling them with imagery from across my day. I allocate one box to the date. The advantage to this is that you can keep a sketch relatively small to start with as you build confidence, can spend 5-10 minutes on sketches at a time, and allow yourself the flexibility to be as varied as you like! An artist who captures this excellently and who you can see on instagram is Cao Becky.
Remember that I mentioned that the boxes should be in pencil? Well, you might decide that you need only 3 because one sketch has taken up more space, or an image might grab you that might suit a long slim rectangle across the top of both pages. Be dictated to by the object that catches your attention as opposed to the format! Use the format as a framework to help you. The other reason is that you might want to rub the pencil away to just have a page of sketches. In time your eye will become adept at building virtual boxes on your paper. You can then decide what you do with them.
3. Return to your favourite things list. Now sketch a few of them in the boxes. Don’t worry about how good you are, just aim to fill a page. Aim for simple lines and shapes as you get started. Once you have drawn the images have a go at using some colour to add interest. (only if you feel confident enough to do so!)
The more you practise the easier it becomes. Your formatting style will evolve and your confidence will grow.
I hope you have found this introduction to formatting useful!
I’m hoping by now you’ve joined the Emily’s Notebook Sketching community here!
Look forward to hearing your thoughts.
Emily x