I thought it might be helpful to outline some sketching materials for beginners. I wish someone had pointed me in a specific direction when I first got started.
Everyone will have a different sketchbook kit. As you develop and grow and commit to your sketching habit, the tools you choose to use will grow, change and develop as you do.
Over time you will discover new art techniques you favour above others which may require a different set of materials. You may appreciate pencil sketching over and above using watercolours for example, or go straight for the ink as opposed to using pencil.
As with all things, the more experienced and interested you become in sketching so too can the budgets required to maintain the habit.
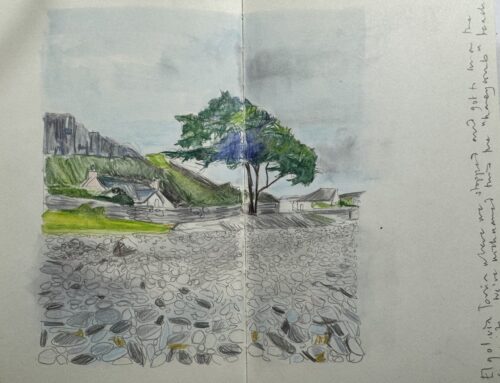
I thought I would share the kit that I reach for when sketching. Although it has become quite expansive over the last few years I always revert back to a skeleton kit to work with which can be purchased for under £10 (or less) depending on budget. I should mention that the primary thing you need is a sketchbook which I will not go into too much detail here as a separate blog post and video of my painting in one exists for this and will be expanded upon imminently.
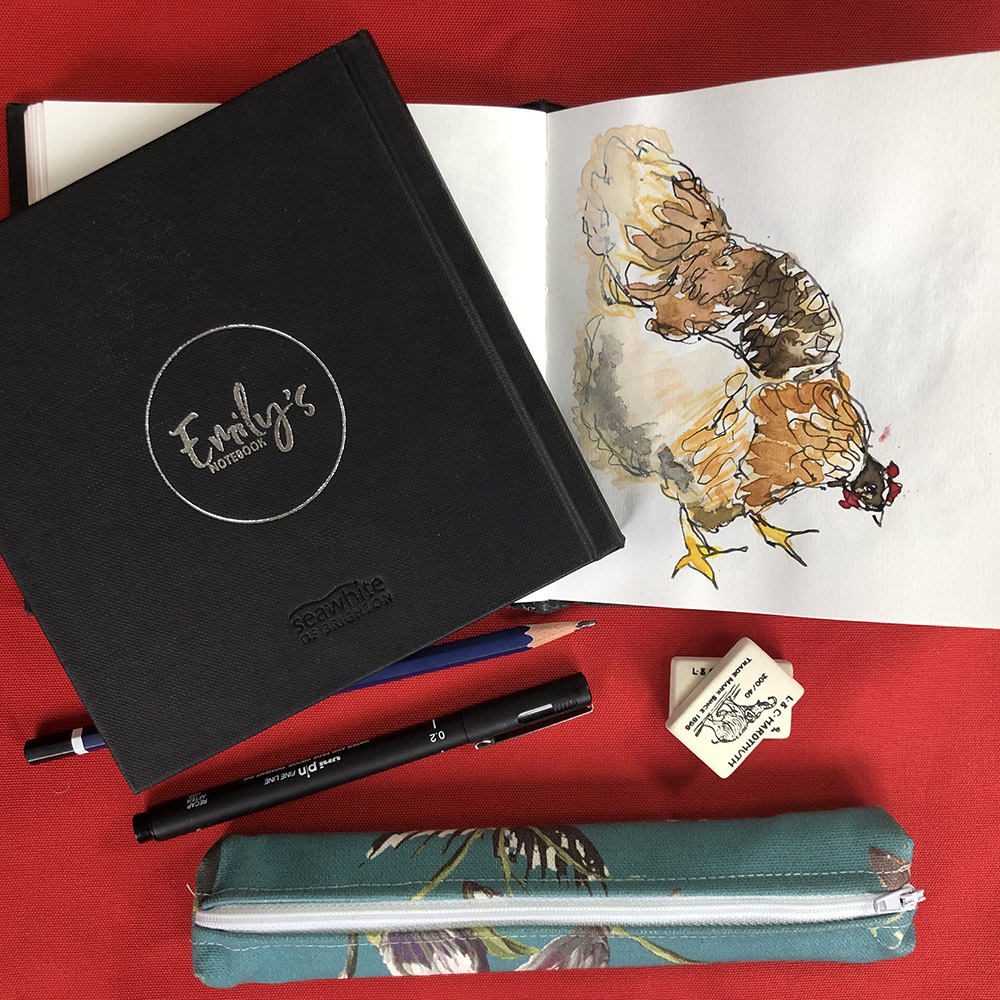
I have 5 items that I carry with me everywhere I go. (6 if you include a pencil case to carry them all in!)
Table of Contents
So here is my sketchbook kit
Paper
It sounds obvious doesn’t it? Believe me though there is plenty of trial and error involved when choosing a paper to work on.
You may have a favourite, or you may want to practice on many different types.
Weight of paper to use
The first rule is that you should always go for a paper that is around 140 pounds / 300 g/m in weight. Watercolor weighs at 140 pounds (300 g/m). It needs to be heavier than other styles of paper so that it won’t buckle under the pressure of holding water. Text paper, on the other hand, can vary from 50 to 100 pounds (74 to 148 (g/m).
Always check for the weight of the paper when you make your purchase on the basis of the materials you are going to be using.
This ensures that if you choose to want to paint or colour your work your paper can withstand the pressure put upon it. I’m a watercolour artist so I always aim to find sketchbooks with as high a weight as possible. There are so many to choose from on the market. I love trying new books every time I finish a sketchbook and get going with the next. Some people find a brand they love and stick to it!
If you aim to stick to using pencil than the lighter weight papers are perfectly fine.
Size of paper to use
Think about the size of sketchbook you would like to use. I’m a busy professional mum. I don’t necessarily have the time to fill larger sketchbooks although I do have them for when I can dedicate time to filling them. I love my small sketchbook that can fit into my handbag. Always opt for hardbacked too as they will oftentimes withstand the portability factor of this hobby.
If you are starting to draw and want to fill a sketchbook I would recommend a basic A5 size notebook.
Leaded or Mechanical Pencil.
So my favourite pencil of all time and one that actually promotes itself as “the world’s best pencil” is Dixon’s Ticonderoga. I buy boxes of 12, 2B pencils. I love this pencil. Its easy to grip and sharpens extremely well. Its black graphite lead has an easy, smooth writing style and there is something about how the point of the lead adapts and adjusts to the pressure I exert on paper with it. It definitely helps me get into a sketching flow and rubs out well.
I also carry a mechanical pencil. The Faber Castell TK 9400 with a 2B lead is great to have when you go sketching outdoors. No need to sharpen the lead. The leads in these pencils last a long time, longer in fact if you opt for a harder lead.
(A note about pencils. There is a broad range of pencil types you can buy based on the lead variations. There are two graphite grading scales known as the “H” scales and “B” scales. An excellent article that lays it out can be found here. I always opt for a 2B pencil when sketching as it is neither too soft or too hard. Just right.)
How to Choose a Good Rubber or Eraser
I advocate using a putty rubber or one that is soft. Of all the equipment out there to fill your sketch kit, the rubber / eraser is by far the hardest to get right. Remember that when you are using a soft pencil on your page with a B lead, finding a rubber that will efficiently get rid of bad markings is crucial. In order to avoid smudging and even paper tears aim to find a soft rubber. But remember too that you need to work with your rubber and ensure that your markings on paper are not too deep or hard.
Micron Pen
The Pigma Micron Pen. I always carry at least 2 different pens. Usually the Pigma range in a 01 and 03 in size (the size of the nib). If you’re getting started, however, you can purchase the pen set of around 5 pens with different pen nib sizes or if it was just one I would go for 0.2 nib. Micro pigment ink is waterproof and fade proof when it comes to drawing. As you grow in confidence you may also like to try the Copic Multiliner Set. I’m a BIG fan of these. The pointed nibs are extremely delicate but create the most amazing, consistent lines on paper. Again, they are pigment based, and waterproof.
Watercolours
I was first given a set of watercolours when I was 10 years old and still have the original tin. You can buy inexpensive watercolour sets to work with that include 12 pans (a pan is the little box the paint comes in, “half pan” are depicted in the sketch here and a “full pan” is double the size of a half pan). Where possible go for a good quality watercolour if you can. Windsor and Newton, Daniel Smith or Sennelier (on the pricy side) or even Derwent are good starter brands to use. As you progress and, more importantly, learn to enjoy this art medium, invest in buying your paint in tubes. This works out cheaper. You can also still squirt paint into the pans as you go. As a beginner, however, start with a small set. You may decide that watercolour is not the medium for you. I often think that if you can master watercolour you can master any paint medium. Plus, its a fantastically quick way of adding colour to your sketchbook if you are pressed for time.
You can also invest in portable watercolour kits that are incredibly lightweight if you choose to paint outdoors. Or, if like me you have a heavy work handbag and you want to keep your art kit light. I found a great set called Art Toolkit made by Expeditionary Art . This kit is perfect and all you need. It is a little pricy though and comes from the States. Its metallic palette is forgiving in colder weathers as well as perfectly proportioned for the paint you need.
Paintbrushes
When starting out go for a smaller brush. A size 6 is one I always use when I sketch quickly. You can opt for a variety of brushes made out of different materials to create different effects and the articles on these are endless! Most paint kits come with an accompanying starter brush to get you going. Use those to start. A great place to buy authentic, well made and artisan crafted brushes is from Rosemary and Co. If you discover that you are serious about sketching and painting go straight to them. The difference that a quality paintbrush makes to a sketch can be quite dramatic. The great news is that they have some great starter kit brushes that are inexpensive. I bought the starter set myself to just experiment. Don’t be afraid to practise with different brushes to see what happens!
When I am out and about I use the Pentel Aquash Waterbrush. You can buy a variety of different nibbed brushes. They hold their own water so you don’t have to carry a water jar around with you! They do the job really well and function like a chunky pen that you can slip into your pencil case.
My trusty sharpener
It took me YEARS!!!! (Screaming from the rooftop) to find a good one. There is nothing more annoying than not being able to sharpen high quality pencils properly. I do have a specialist knife that I use on occasion but this is hardly portable and I’d probably get arrested!!! The sharpener I now opt for is the Kum brand. This is a two hole long point pencil sharpener that includes 2 replacement blades to swap in when you’ve exhausted the others. The blades are very sharp and create two different types of point. For someone who uses a wood pencil as well as colouring pencils, ALOT, this is a crucial part of my kit. It also comes enclosed so I can sharpen when out and about.
Pencil Case
Sketching for me is a largely portable hobby. I always have all my equipment with me. Early doors I did find myself scrabbling around in the bottom of my handbag to find things. A pencil case is a must, but not necessarily too large or too heavy, just enough to pop your essentials in. It makes life easier. Check out my brand of sketch kits by clicking on the photo below to give you an example of what you could fill your set with.
Well…that’s a glimspe into my sketchbook kit!
If you are reading this for the first time please do join the Emily’s Notebook community for access to further resources.
Do share what you use with me as I am still avidly collecting materials.